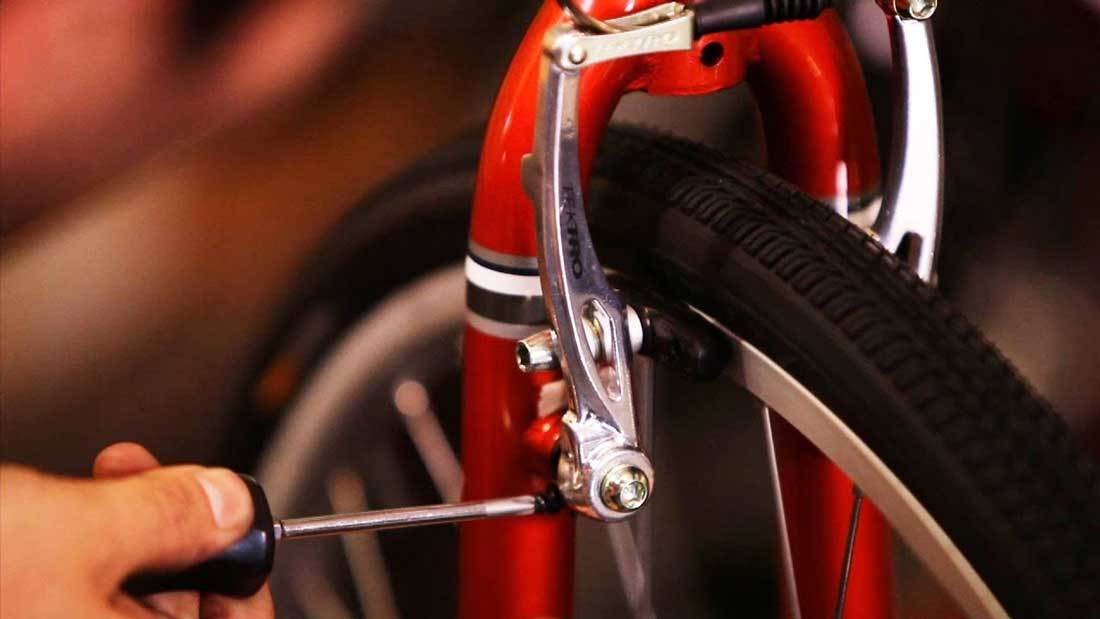
How to Tighten Bike Brakes – Step By Step
You don’t always need to grasp your brakes as hard as you can to get instant braking. With a gentle charge, you can easily and effectively stop your bike the instant you want it to.
This is because most brake settings are set in a standard. What this means is, it is up to you to tweak and adjust the brakes to your liking.
If you have no clue about adjusting bike brakes, here is a guide that elaborates on how to tighten bike brakes.
Bike Parts
Before getting started, you need to familiarise yourself with the brake components. They are as follows:
- Brake lever: The part where you grip with your hand and pull to operate the brake.
- Cable and cable housing: It links the lever to the brake calipers.
- Brake calipers: These rubber components hold together to squeeze brake pads against the wheel’s rim to stop the bike.
- Adjustment knob: This lets you adjust the length of the cable housing.
- Locknut: As the name says, it locks the adjustment knob in place.
- Cable length setting: This bolt attaches the brake cable to the calipers. You can also shorten or lengthen the cable with it.
Before You Start
Before you begin, it is always crucial to check if all the elements are in place and working properly. For this, you need to be sure if there is enough rubber on the brake pads.
Also, see if they are in complete alignment with the brake pads. Moreover, ensure the bolt on the cable housing is fully fitted and tightened.

How to Tighten Bike Brakes
This method of tightening brakes is an unusual one. Once you have completed all the steps, please make sure to test them carefully. You can do that by spinning the wheels and pulling the levers.
Anyhow, since you are familiar with the parts by now, it is time to follow this method for tightening and adjusting your bike brakes.
Unscrew the Locknut
1.
The lock nut is usually positioned close to the lever pull. It is capable of keeping the adjustment knob in place, so it doesn’t move elsewhere. First, make sure to unscrew the locknut.
Grasp the Calipers
2.
Clamp both the calipers near the pad. Squeeze it hard so that the calipers get closed and move the wheel rims to stop.
Releasing the Adjustment Knob
3
Move the adjustment knob in a counter-clockwise direction until it starts to detach from the brake assembl. This makes the cable housing to elongate and become available in its longest position. Here is where you test and see if it works.
Try pulling on the brake levers now. Does it engage the way you want it to?
If the brakes engage fast, hold steady a mild pressure on the brake lever as you screw the adjustment knob back. Cease the process when it is in the spot you want. If it takes time to make the brakes engage, your brake cable might be too long or damaged.
However, if you consider adjusting the cable length, unscrew the cable housing a bit. Pull the cable slightly to shorten it and repeat it to get your desired length. If the process is too complicated for you, you can always visit your local bike shop or mechanic for help.
Secure the Locknut into Place
4.
Once you are satisfied with the way the lever works, screw the locknut in a clockwise direction to fasten it into position.
Last Step
5.
All you have to do now is to make sure the brakes activate the moment you pull the levers. To test it again, lift the bike to bring a front wheel off the ground and then let it spin. Listen carefully and ensure the brake pads avoid hitting the wheel rims.
If they do, you are in bad luck and have to redo all the steps again. Only this time, you will make sure to screw the adjustment knob in a bit more. Give the wheel another spin and pull the brake lever to repeat the process. If it is a success, the wheel should be able to stop quickly.
For the last step, a riding test is all you need to ensure that everything is in the correct order. If it doesn’t work, use the alternative brake and go back to repeating the steps.
Watch How to Adjust Bike Brakes
Conclusion
Everyone wants a properly functioning brake that can stop the moment you need it to. However, a brake system is not always attainable. That’s why it’s up to you to make the changes if you want.
Therefore, we present this guide on how to tighten bike brakes. Its purpose is to make a process such as this easy and simple for beginners and expert cyclists alike. So that you don’t have to scurry over to your local mechanic shop all the time.
