How to Remove Brake Fluid Reservoir from Master Cylinder
Have you ever experienced a spongy brake pedal or noticed that your brake fluid level is low? If so, it may be time to remove the brake fluid reservoir from your master cylinder and either replace it or clean it thoroughly. This may seem like a daunting task, but with the right tools and a little bit of knowledge, you can easily complete this task yourself.
The brake fluid reservoir is an essential component of your vehicle’s braking system as it stores the brake fluid that is necessary for the system to function properly. Over time, the reservoir may accumulate debris or become damaged, which can lead to leaks or brake failure.
Therefore, it’s crucial to know how to remove the brake fluid reservoir from the master cylinder to ensure the safety of yourself and your passengers. So, let’s dive into the process and learn how to do it step by step.
Table of Contents

Why Would You Need to Change the Brake Fluid Reservoir?
Our cars might have numerous problems that need to be fixed, and one of those problem areas might be the brake fluid reservoir. This is something that needs immediate attention and solution so that it is dealt with in time before anything serious happens to the car.
Any damage or crack in this part of the vehicle may lead to oil or other fluid leakage. You might also have to deal with some contamination within the car if the fluid leaks and goes everywhere. The clean up will be a long and unnecessary process if you keep things in check before they go out of hand.
Tools Required to Remove Brake Fluid Reservoir from Master Cylinder

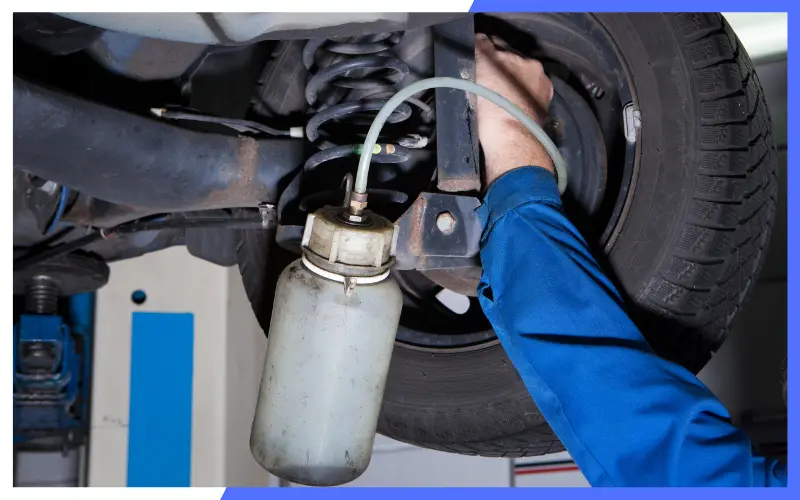
Removing the brake fluid reservoir from your master cylinder may seem daunting, but with the right tools and a little know-how, it can be a breeze. Here are the tools you’ll need to get the job done:
Brake Fluid Reservoir Removal Kit:
This kit includes all the necessary tools to remove the brake fluid reservoir without damaging any of the surrounding components.
Wrenches:
You’ll need a set of wrenches to loosen and remove any bolts or nuts holding the reservoir in place.
Screwdrivers:
A set of screwdrivers will come in handy for removing any screws or clips holding the reservoir in place.
Pliers:
Pliers will be useful for removing any hoses or cable ties that may be securing the reservoir.
Once you have your tools ready, it’s time to start removing the brake fluid reservoir. First, make sure you have drained all the brake fluid from the system and have cleaned the area around the reservoir thoroughly. Next, use your wrenches to loosen and remove any bolts or nuts holding the reservoir in place. Be careful not to damage any of the surrounding components as you work.
Once the reservoir is loose, use your screwdrivers to remove any screws or clips holding it in place. Use your pliers to remove any hoses or cable ties that may be securing the reservoir. Finally, gently lift the reservoir out of the master cylinder

How to Remove the Brake Fluid Reservoir from the Master Cylinder?
For someone accustomed to cars and their parts, this whole ordeal will not be stressful. Everything is to the point, and you will be done in absolutely no time.
However, this might not be the case for everyone, especially those of you who have not done anything like this before.
So, to help you out, we have information on what you will have to do to complete the task in hand without messing anything up or hurting yourself in the process.
Step 1: The Hood Of The Car Has To Be Lifted
Before you can do any of the actual work, you will need to have access to the problem area. In this case, the problem area is in the engine compartment, under the car’s front hood.
Ensure you secure the hood before you move to the other steps because it might fall and hurt you in the head or neck. There is a stick that will stop it from falling.
Step 2: Find Out Where The Master Cylinder Is Located
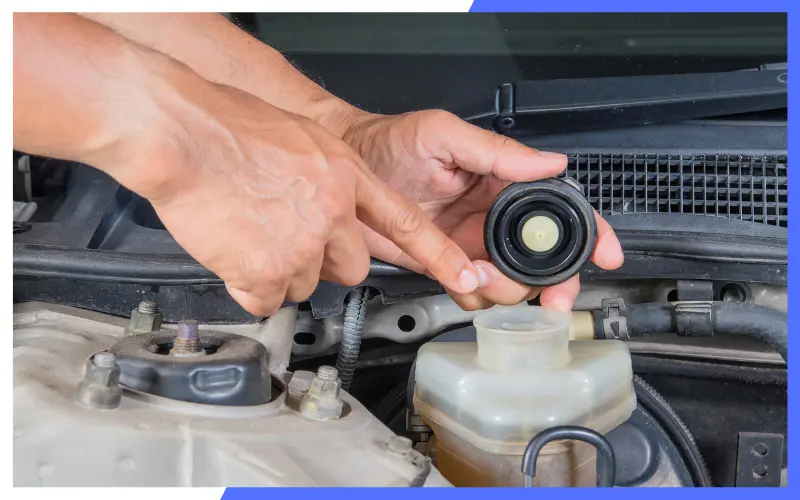
The engine of the car is a complex piece of machine, and for someone who is new at this, you might have a tough time figuring out which is inside the hood. So, you have to find out the master cylinder before you can get to the actual removal part of the work.
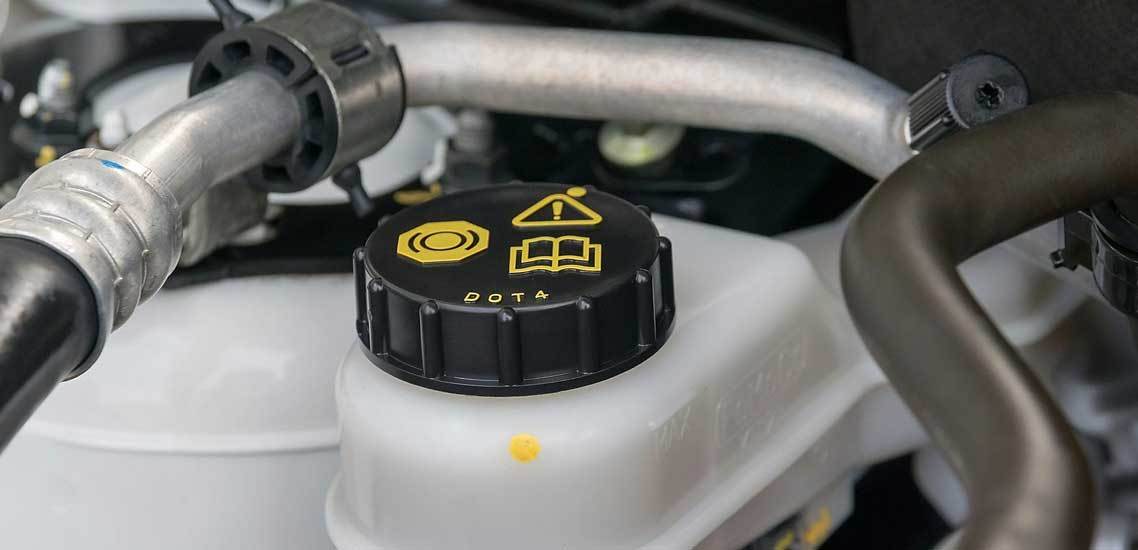
You will find it to your right or left, depending on which side is the driver’s side. The object is either made of plastic or metal and will be located near the firewall. To it, you will see that there are four hoses connected, as well as a brake line attached.
Step 3: Secure With A Vise
Once you find the master cylinder, the work can now begin. And to do so, you will have to secure the body of the master cylinder and tighten it. The vise needs to be clamped down so you can perform the task on the cylinder. Without this, your work will be challenging.
Step 4: Slip The Screwdriver Or The Pry Bar In
As everything is fixed and secured, you can now slip either a pry bar or a flathead screwdriver into the area between the metal or plastic cylinder and the brake fluid . Just make sure the tool you are using is good as that you do not end up damaging anything further.
Step 5: Push Off the Reservoir
Now that you have the screwdriver wedged between the reservoir and the cylinder, you must push it in a way so that the reservoir can be wholly separated from the cylinder.Once that is done, now you must remove the rubber that attaches the two. And with that, you are done!

Safety Precautions to Take When Removing Brake Fluid Reservoir from Master Cylinder
If you need to remove the brake fluid reservoir from your master cylinder, you should take a few important safety precautions to protect yourself and your surroundings. Here are some tips to keep in mind:
Wear Gloves and Eye Protection
Brake fluid can be irritating to the skin and eyes, so it’s important to wear protective gloves and eye gear when working with it. This will help prevent any accidental splashes or spills from causing harm.
Avoid Spilling Brake Fluid
Brake fluid is a highly corrosive substance that can damage your car’s paint and other surfaces. To avoid any spills, make sure to place a protective cover or rag beneath the master cylinder before removing the reservoir. Additionally, use caution when removing the reservoir to avoid any spills or splashes.
Properly Dispose of Brake Fluid
Once you’ve removed the brake fluid reservoir, it’s important to dispose of the old fluid properly. Brake fluid cannot be poured down the drain or thrown away with regular garbage. Instead, you should take it to a local auto parts store or mechanic who can dispose of it safely.
By following these simple safety precautions, you can remove your brake fluid reservoir with confidence and without causing any harm to yourself or your surroundings. Always prioritize your safety when working with any automotive fluids or materials.
Frequently Ask & Questions
Are you having trouble with your brake fluid reservoir and master cylinder? Don’t worry, we’ve got you covered! Here are some frequently asked questions about removing the brake fluid reservoir from the master cylinder:
How often should you replace the brake fluid reservoir and master cylinder?
Replacing your brake fluid every two years or 24,000 miles is recommended, whichever comes first. As for the brake fluid reservoir and master cylinder should be inspected regularly for any signs of damage or wear. If you notice any leaks, cracks, or other issues, it’s best to replace them immediately.
Can I remove the brake fluid reservoir without removing the master cylinder?
You can remove the brake fluid reservoir without removing the master cylinder. However, it’s important to be careful to avoid damaging any of the components. Follow the manufacturer’s instructions and use the appropriate tools for the job.
What are the signs that the brake fluid reservoir and master cylinder need replacement?
Some common signs that the brake fluid reservoir and master cylinder need replacement include:- Leaking brake fluid- Soft or spongy brake pedal- Loss of brake pressure- Grinding or squeaking noise when braking- Warning lights on the dashboardIf you notice any of these symptoms, it’s important to have your brakes inspected by a professional as soon as possible. Ignoring brake issues can lead to serious accidents and injuries.
How do I know if I need to remove the brake fluid reservoir from the master cylinder?
If you notice any signs of brake fluid contamination, such as a dark or murky color, or if you have recently experienced brake problems, it may be necessary to remove the brake fluid reservoir from the master cylinder. Additionally, if you plan on flushing or replacing the brake fluid, removing the reservoir will make the process much easier.
How do I disconnect the brake fluid reservoir from the master cylinder?
To disconnect the brake fluid reservoir, first locate the retaining clip or screw that secures the reservoir to the master cylinder. Use your pliers or wrench to loosen and remove the clip or screw. Once the reservoir is no longer secured, gently pull it away from the master cylinder, being careful not to spill any brake fluid.
What precautions should I take when removing the brake fluid reservoir?
Before removing the brake fluid reservoir, it is important to take a few precautions to prevent any accidents or damage. First, make sure the engine is turned off and the vehicle is in park or neutral with the parking brake engaged. This will ensure that the vehicle does not roll or move unexpectedly. Additionally, be careful not to spill any brake fluid on your skin or clothing, as it can be harmful. If you do come into contact with brake fluid, wash the affected area immediately with soap and water.
Final Thoughts
Removing the brake fluid reservoir from your master cylinder may seem like a daunting task, but with the right tools and careful attention, it can be done without much hassle. Remember to wear protective gloves and glasses, and to keep a rag handy to catch any spills. By following the steps outlined in this guide, you can easily remove and replace your brake fluid reservoir, ensuring the longevity and performance of your vehicle’s brake system. Happy motoring!
