
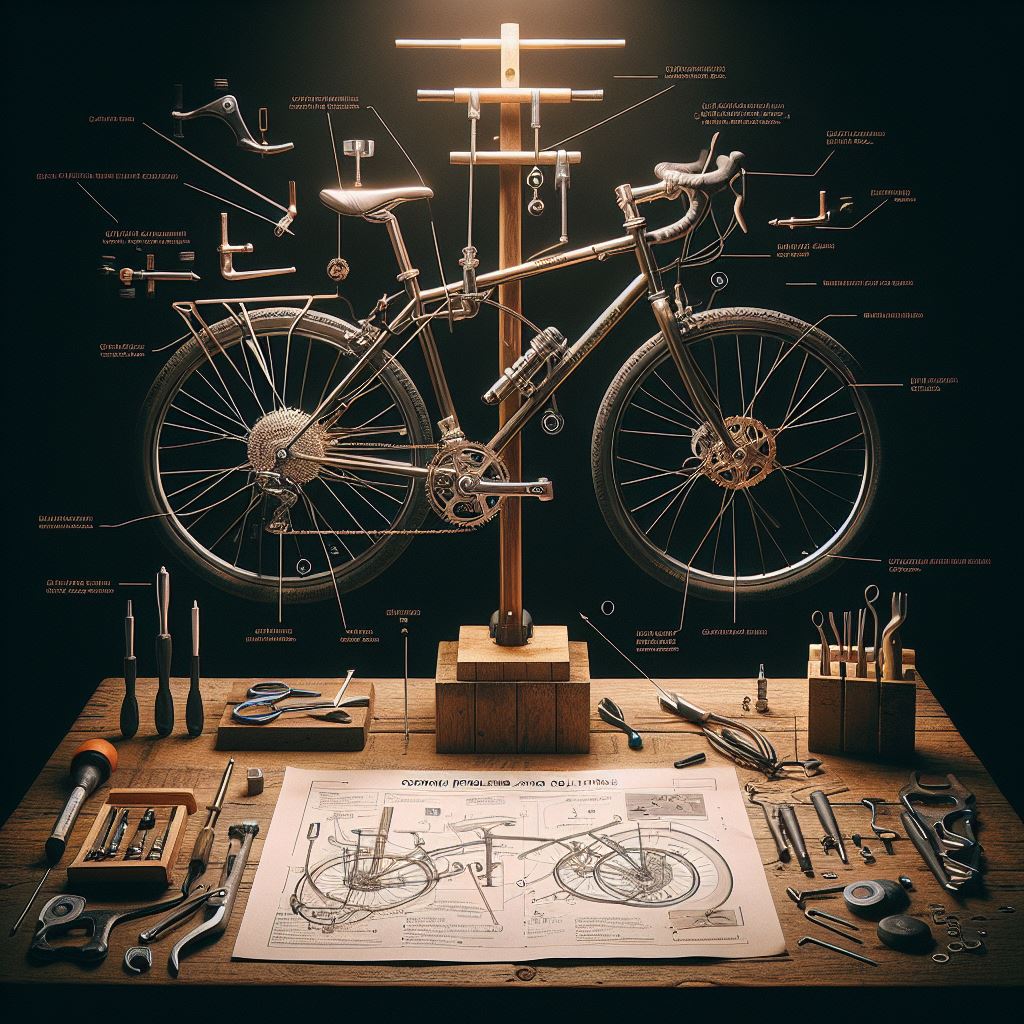
How To Tighten Brakes On Bike
Riding a bicycle provides a sense of freedom and adventure, but ensuring that your bike is in optimal condition is crucial for a safe and enjoyable experience. One essential aspect of bike maintenance is brake functionality. Over time, brakes may loosen, compromising their effectiveness and putting your safety at risk. Fear not, as tightening the brakes on your bike is a straightforward process that can be done with a few basic tools and a little know-how. In this guide, we’ll walk you through the step-by-step process of tightening your bike brakes, allowing you to ride confidently and safely. Maintaining your bike’s brakes is a fundamental aspect of responsible cycling.
By regularly checking and tightening your brakes, you not only ensure your safety on the road but also extend the lifespan of your bike. Remember that well-maintained brakes contribute to a smoother and more enjoyable riding experience. As you tighten the brakes on your bike, take the opportunity to inspect other components and address any issues promptly. With a little time and effort invested in brake maintenance, you can pedal with peace of mind, knowing that your bike is in excellent working condition.
Table of Contents
Types of Brakes
When it comes to bicycles, brakes are an integral part of the riding experience. They play a critical role in the cyclist’s safety and the bike’s overall performance. There are several types of bike brakes, each with its own set of advantages and disadvantages. This article will explore the bike brake types and how to tighten them for optimum stopping power.
1. Mechanical Disc Brakes:
Mechanical disc brakes are the most common bicycle brakes requiring minimal maintenance. Start by tightening the cable tension using a 5mm Allen key or an adjustable wrench. Then, ensure that the brake caliper is centered over the rotor and that the brake pads are well-aligned with the rotor. After everything is in place, adjust the lever position to ensure the brakes are tight enough.
2. Hydraulic Disc Brakes:
Hydraulic disc brakes are more advanced than mechanical ones and provide a much greater adjustment range. Tightening these brakes is more complicated as it requires special tools to adjust the hydraulic pressure. To tighten your hydraulic disc brakes, you will need to use a specific wrench or tool to increase the tension of the brake pads against the rotor. This ensures enough pressure is applied to stop the wheel quickly and safely.
3. Cable-Actuated Disc Brakes:
Cable-actuated brakes are the simplest type of disc brake and offer great control. To tighten them, you need to adjust the cable’s tension by rotating the barrel adjuster at the brake lever. This can be done with either an Allen key or a flat-head screwdriver. Once you have adjusted the cable tension, ensure the brake pads are properly aligned with the rotor before testing your brakes.
4. Rim Brakes:
Rim brakes are the most traditional type of braking system available for bicycles. They use a set of rubber brake pads attached to the wheel rim and pressed against it when the brakes are engaged. You need to adjust the cable tension by turning the barrel adjuster at the brake lever to tighten them. To ensure optimum performance, you should regularly check that the brake pads are aligned with the rim and not worn out.
How to Tightening Your Brake Pad
Before tightening your brakes, ensure to check the brake pads first. The brake pads are the pads that clamp down on the front tire of your bike when you pull the brake lever. If the brake pads are worn below the wear line, you must replace them.
In the meanwhile, follow the steps to tighten your brake pad.
1. Squeeze the brake lever to locate where the pads hit the rim: The brake pads should contact the rims simultaneously. They should meet the rim’s center, leaving the same space above and below the pads. When the contact is too high or low, it could affect the tire or speak of your bike.
2. Loosen the bolt: Using an Allen wrench, turn the bolt counterclockwise to remove it. Please don’t lose it, or the bolt will come from the brake holder.
3. Move the brake pads up or down in the brake pad holder: Now is the time to move the brake up and down in the brake pad holder. It should easily move up and down or lose.
If the pads are too low on the rim, move them up until they are centered. If they are too low on the rim, move them down until they are centered.
4. Re-tighten the brake pad bolts: Using the Allen wrench, turn the bolts again clockwise until fully tightening. As you turn, check to ensure the brake pads are centered. Adjust till it hits the right position.
How to Tighten Your Brake Caliper
1. Check the tightness level:
First, check the tightness of your brake lever. If the lever hits the handlebar when you pull them, it means the cables are too loose and need tightening.
The brake lever should be about 3.8 cm (1 ½ ) away from the grip of the handlebar.
2. Loosen The Barrel Adjuster: The Barbar adjuster is in the intersection between the lever and brake cable. Slowly turn the barrier adjuster clockwise to loosen it. This automatically tightens the brake cable.
Loosening the barrier adjuster is quick if you want to tighten your brake. But, if it doesn’t work, here is another way.
Check the state of the brake cable by pressing the lever. Please take note of how close it gets to the handlebar.
3. Adjust The Caliper Part of the Brakes
Caliper is the part of the brake where the pads are attached. Check their state and find the bolt that holds the caliper and the brake pad together. Use a wrench to turn the bolt anti-clockwise to loosen it.
Take caution while doing it, as you wouldn’t want to overdo it and unscrew the bold in the process. Just two or three rotations will do the magic.
4. Pull The Brake Cable
You should have loosened the bolt and caliper at this point. Now is the time to pull the brake cable upwards. It should move easily.
After pulling out the brake cable, hold it tightly in one place, and you will notice the front brake pad tighten on the rim. That’s because the cable is getting tighter too. Ensure the pads are tight till there is some resistance when you turn the tire, but don’t overdo it.
Over-tightening the pads will result in stiffening, which can lead to more problems. Just keep adjusting it until it gets to the perfect spot.
5. Tighten The Caliper Bolt Again
If you have followed the above steps correctly, you must have successfully tightened the brake cable. What next is to tighten the caliper’s bolt again.
Turn the bolt clockwise before; now, you turn it clockwise two to three times. Turn it till you’ve exhausted all the bold thread lines. At this point, the bolt is successfully tightened.
6. Tighten The Barrel Adjuster Again
Re-tighten the barrel adjuster by turning it clockwise. You will notice that the brake pads have slightly changed, meaning they are good for use.
The brake cable is set when the barrel adjuster is completely tightened. To test the brake cable tightness, press the lever.
How to Tighten Disc Brake
1. Turn your brake upside down on a flat surface: Spinning the brake rotor is one of the processes to tighten your disc brake. To do that, stand the brake upside down, resting it on the handle and saddle.
Alternatively, you can ask a friend to lift your bicycle while you spin the wheels.
2. Check rotor alignment: The rotor sits in a gap in the brake caliper between the two pads. The caliper needs adjusting if the rotor is not accurately placed on both sides.
Looking at it, it may seem like nothing is wrong. But there are cases where the wheel has been bent or damaged. This is why it’s important to spin the wheel.
The rotor moves with the wheel and wobbles from side to side when the wheel rotates. In most cases, you need to get a new rotor.
3. Loosen your disk brake bolts: If the rotor seems closer to one brake pad than the other, you must align the caliper. To do that, loosen the bolts at the top and bottom of the caliper.
Ensure not to loosen it all the way. Just ensure they are slack enough in their fittings to move slightly without falling off.
4. Squeeze the brake and tighten the bolts: Now, spin the wheel and tighten, then tightly pull the brake lever. If rightly done, the brake caliper will grip against the rotor. Thus, bringing both pads in alignment with each other. Still holding the brake, tighten the bolts again.
5. Release the brake lever and test: Once you let go of the brake lever, it should sit in the middle of the two brake pads inside the caliper.
You should be able to see it, but test this by spinning the wheel to ensure there’s no lateral movement and the caliper stays in place.
If they’re not equally spaced, make smaller adjustments by loosening one bolt at a time and repositioning the caliper until they are.
How to replace a brake?
Maintaining your brakes properly is crucial for a safe and enjoyable bike ride. Here, we will show you how to tighten the brakes on your bike step-by-step.
1. Identify the Problem
First, you need to identify what type of brakes your bike has and the problem that needs to be fixed. If your brakes are not functioning properly, it can be due to various factors, including loose cables, worn brake pads, or misaligned calipers.
2. Adjust the Brake Cable
You need to adjust the brake cable if there’s too much slack in the brake cable. Locate the brake cable adjuster on the brake lever or brake caliper. Turn the adjuster clockwise to tighten the cable and counterclockwise to loosen it. Ensure the brake pads are properly aligned with the rim before tightening the cable.
3. Adjust the Brake Calipers
You must adjust the brake calipers if the pads are improperly aligned with the rim. Loosen the caliper mount bolts using a wrench and adjust the caliper position until the pads are aligned with the rim. Use a feeler gauge or a business card to ensure the pads are far from the rim.
4. Replace the Brake Pads
If the brake pads are worn out, you need to replace them. Remove the old pads by loosening the retention bolt or pin. Install the new pads, ensuring they’re properly aligned with the rim. Tighten the retention bolt or pin securely.
5. Test Your Brakes
After adjusting or replacing the brake pads, test your brakes before your next ride. Squeeze the brake levers to make sure they engage the brakes. Test the stopping power by riding the bike slowly and applying the brakes. Make sure the bike comes to a complete stop before setting off on your ride.
Brake Tips
- If the wear lines on your brake pads aren’t labeled, they should be marked by grooves on the side of the pads instead.
- Ensure your wheel lines up correctly in the dropouts, or it won’t make good contact with your brake.
- If you want a good look at your brake pads, crush down when squeezing the brake pad lever.
- If your bike has a quick-release mechanism, ensure it isn’t loose or hasn’t come undone. Otherwise, your brakes won’t squeeze tightly on the wheel.
Frequently Asked Questions [FAQs]
How do I know if my brake cables need replacing?
If you notice any fraying, kinks, or rust on your brake cables, it may be time to replace them. You should also replace your brake cables if they are stretched or do not provide enough stopping power when you apply the brakes. Replacing your brake cables regularly is important to ensure that your brakes are safe and effective.
How often should I tighten my bike brakes?
It is recommended to check and adjust your bike breaks every time you ride your bike, especially if you use it regularly. This will ensure maximum stopping power and prevent any potential accidents. If you notice any issues with your brakes, such as a spongy feeling or lack of responsiveness.
How long does it take to tighten the brakes?
It usually takes about 10 minutes to tighten the brakes on a bike. You will need to adjust the cable tension, ensure the brake pads are properly aligned with the rotor, and adjust the lever position to ensure your brakes are tight enough. It is important to take your time when tightening your brakes as it can directly impact your safety while riding.
Why are my brakes too loose?
The most common cause of loose brakes is the cable tension being too low or the brake pads not being properly aligned. This can be fixed by adjusting the cable’s tension and ensuring that the brake pads are correctly positioned.
How do I make my bike brakes more responsive?
You can use several techniques to make your bike brakes more responsive. Try resetting the barrel adjuster or adjusting the brake arm springs.
Conclusion
Maintaining your bike’s brakes is a fundamental aspect of responsible cycling. By regularly checking and tightening your brakes, you not only ensure your safety on the road but also extend the lifespan of your bike. Remember that well-maintained brakes contribute to a smoother and more enjoyable riding experience. As you tighten the brakes on your bike, take the opportunity to inspect other components and address any issues promptly. With a little time and effort invested in brake maintenance, you can pedal with peace of mind, knowing that your bike is in excellent working condition.