
How To Replace Brake Pads And Rotors In A Car? [ 10 Steps ]
Installing new brake pads and rotors is an important part of maintaining the longevity of your brakes. Not to mention that it’s also a great way to save on brake replacement costs, as when done properly, you won’t have to shell out for expensive labor fees. Fortunately, installing your pads and rotors is not overly complicated; it just takes time and effort, which a moderately-skilled DIYer can do in a few hours.
The first step in replacing your brakes is trying to determine whether or not they need it. You can easily do this by visually inspecting the pads to see if they are worn or broken due to temperature, humidity, and dust exposure.
If your brake system has been making noises such as squealing, squeaking or grinding, pulsating from the pedal, or even shaking off the steering wheel, it could indicate that you need new brakes. So, if you suspect your brakes are due for a change don’t hesitate. Follow the below steps.
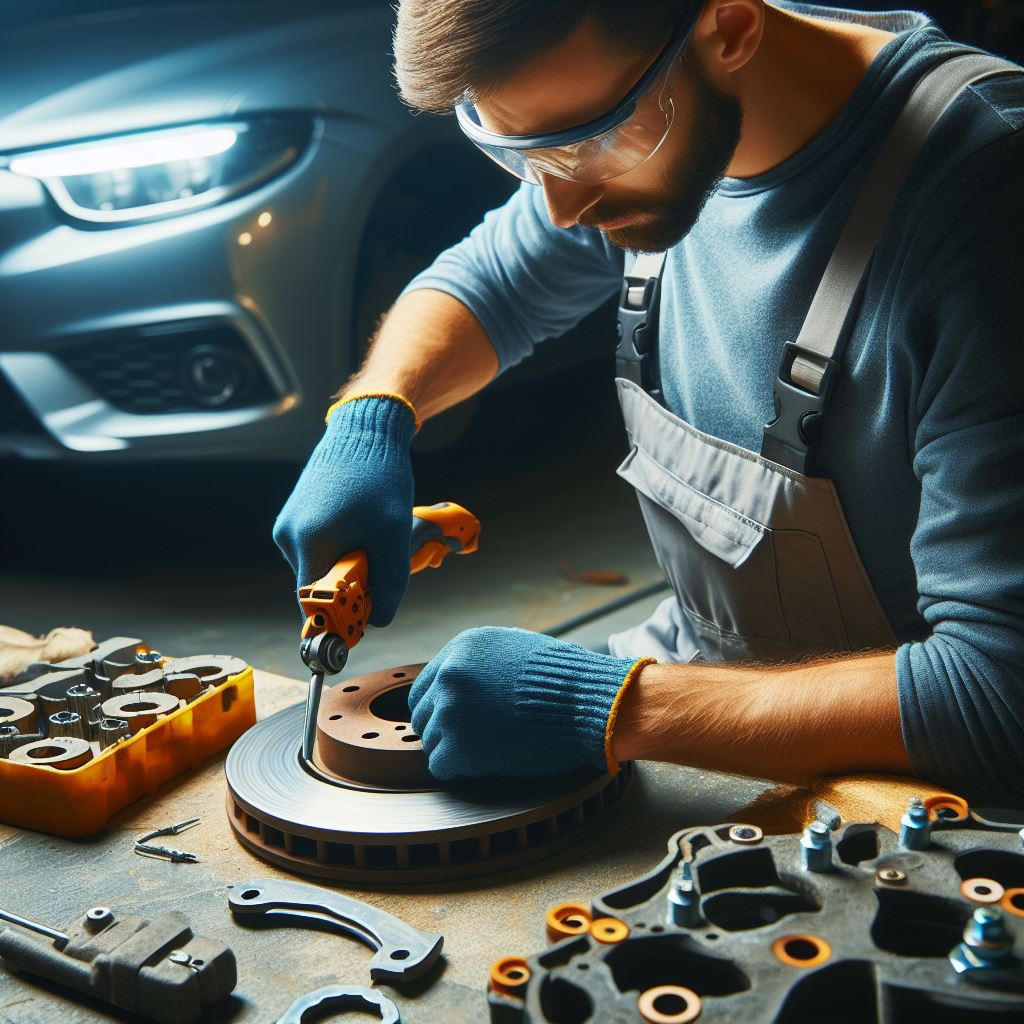
Table of Contents
Here is How to Replace Brake Pads and Rotors in A Car
1. Check Brake Fluid
Checking the brake fluid levels is an important part of vehicle maintenance. It helps ensure that the brakes are functioning properly. Open the hood and locate the brake fluid reservoir to check the level. This can usually be found near the firewall or the master cylinder on most cars.
Once located, it is important to have a clean cloth handy when checking for brake fluid levels and potentially performing a refill.
Check whether it is full or low, then adjust the level accordingly. If too much fluid is added, spillage may occur due to pressurization caused by compressing the brake caliper piston while attempting to apply enough pressure when pushing down on the brake pedal.
Taking care in this step will help avoid potential damage to other components, such as metal surfaces and hoses, should any overflow occur due to too much pressure on either end of the system.
2. Lift the Car, Take Off the Wheel
First, it is important to loosen the lug nuts with a breaker bar and socket while the wheel is on the ground. This prevents them from becoming seized as soon as they are exposed to air after being jacked up.
Then, use a hydraulic jack to raise the vehicle from a secure point. Use appropriate jack stands under secure points before slowly lowering the vehicle onto them. Finally, remove the lug nuts by hand and the wheel itself.
It’s important to remember that raising and lowering a vehicle can be dangerous if not done properly, so it is always recommended to have someone help you if possible.
Additionally, ensure all safety precautions when operating any power equipment and follow instructions provided when using any jacks or jack stands for your specific car model. Keeping these things in mind will ensure safe and successful wheel removal.
3. Remove Caliper
When you remove the caliper bolts, be sure to position your wheel to give you easy access. You can turn it left or right to create more workspace. Once you have removed the bolts and removed the caliper, suspend it with a bungee cord so the brake line does not become damaged or come undone during your work.
It is important to note that the steps needed for removing a caliper may vary depending on what make and model of vehicle you are working with, so always make sure to read up on any specific instructions when beginning any automotive repairs.

4. Remove the Old Pads and Clean It
Once the old pads have been inspected, they should be removed from the caliper. Removing the caliper mounting bracket may also be necessary on some vehicles to get access to the rotor. This requires first unbolting the caliper, which is held onto the spindle assembly via bolts on the mounting bracket, before removal of the rotor is possible. Doing so gives access to replace both components with fresh parts if needed.
Now clean the surface. This process starts with a wire brush to effectively scrub away rust, accumulated dirt, and grime on the hub surface. Once cleaned, any remaining dust or particles should be removed with brake cleaner or compressed air.
Finally, once the surface is clean and dry, it must be inspected to ensure no deep scratches or grooves before affixing the new rotor. By following these steps, your brakes will last longer and have fewer problems like pedal pulsation due to improper alignment between parts.
5. Now Install New Rotor and Brake Pad
The cleaning process itself is simple. Begin by spraying a light coat of brake cleaner on the rotor surface, following manufacturer instructions for safe usage. Use a soft cloth or brush to gently scrub away any grime particles, especially grooves or corners that can easily harbor dirt residue. Once done, you should see a shiny and clean surface — ready for installation.
Wear protective gear such as gloves and eye protection when using chemical-based products like brake cleaner to prevent accidents during cleanup and installation processes. Properly installed rotors are vital for efficiently stopping vehicle power, so take your time and follow all necessary steps during this important maintenance project.
Proper installation plays a large part in achieving a smooth, quiet ride. Use brake lubricant on the contact points for optimal performance for smooth sliding and noise reduction. Ensure to align all components properly, then tighten the mounting bolts to factory specifications for superior braking performance and longevity.
Paying attention to detail when installing particular hardware components is paramount and can go a long way in preventing problems down the road.

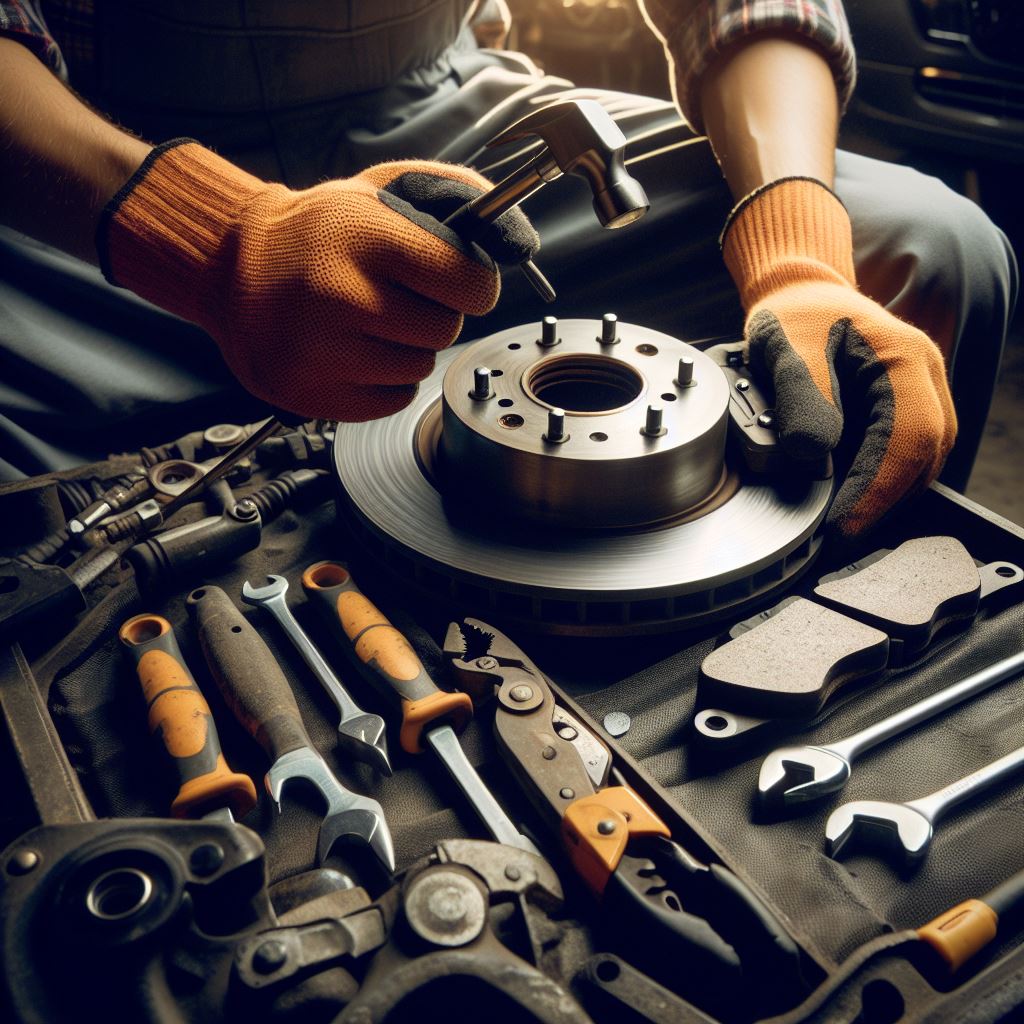
6. Get Brake Pads Ready to Install
Before installing new brake pads, it is important to ensure all the components are ready and in good condition. This includes the old brake pads, rotors, calipers, and any other components involved in the brake system. Check that all bolts and nuts are properly tightened before you begin work.
It’s best to use new hardware whenever possible when replacing brake pads. This includes new brake pad pins, clips, and shims. Install the new pads on the caliper bracket and ensure they align properly with the rotor surface.
7. Test for Proper Brake Performance
Once all components have been installed, it is essential to perform a test drive to ensure proper operation of the brakes. Before driving, ensure the brakes release correctly, and the brake pedal is firm. Any vibration or pulsation in the brake pedal indicates improper alignment and should be addressed immediately.
When driving, make sure to apply brakes lightly at first until you can determine how they’re performing. Listen for any unusual sounds, such as squealing or grinding noises, which typically indicate improper installation. If everything works correctly, you should hear a smooth, quiet ride with no brake pedal pulsing.
8. Pump the Brakes
Pumping the brakes is an important part of driving safely. The goal of pumping the brakes is to ensure that brake fluid flows correctly and that the braking system is in good working condition. The key to doing this step properly is to sit in the vehicle and slowly press on the brake pedal until it becomes firm.
It is important not to push the pedal all the way down as this could cause damage to the brake master cylinder assembly.
9. Inspect Regularly
After replacing brake pads and rotors, it is important to inspect your brakes regularly. Regular inspections help identify any issues early on and prevent them from developing into more serious problems.
During inspections, check for signs of wear or damage that could affect the performance of your brake system. Look for excessive pad wear, uneven pad distribution, and any other signs of damage.
Also, check the brake fluid level and inspect the calipers and wheel cylinders for signs of wear or leaking. Finally, follow manufacturer maintenance schedules to keep your brakes in optimal shape. These steps will help ensure you drive safely, no matter where you’re going.
10. Properly Dispose of Old Parts
After completing your brake replacement project, properly dispose of all unused and worn-out parts. Don’t simply toss them into the trash — many automotive parts contain hazardous materials that can be dangerous if not handled correctly. Check your local auto shop or waste management facility for information on properly disposing of these items.
Frequently Asked Questions [FAQs]
1. How Do I Know If My Rotors Need Replacing?
When it comes to maintaining the brakes on your vehicle, one of the most important parts you need to check regularly is the rotors. Rotors are essential to providing a safe and reliable braking system, so it’s important to know what signs indicate it’s time to replace them.
2 . Do I Need To Replace My Brake Pads And Rotors Simultaneously?
Ideally, it’s best to replace your brake pads and rotors simultaneously for optimal performance. This helps ensure that both components are in good condition, which can help prolong their life and maintain proper braking performance.
However, if you notice that only one component needs to be replaced, it is possible to replace the worn-out part. Remember that if you choose to do this, you may still need to replace the other component later.
3. How Many Years Do Rotors Last?
Rotors typically last anywhere from 30,000 to 70,000 miles depending on the driving conditions that they are subjected to. If rotors are not replaced after they become worn down, it can cause a pulsing sensation when pressing the brake pedal and can lead to further damage of the brake pads and other parts of the braking system. It is important to inspect your rotors regularly and replace them when necessary.
4. What Happens If Rotors Are Not Changed?
If you do not replace the rotors when replacing brake pads in a car, it can cause several problems. The most serious issue is that your brakes will be less effective and could lead to a crash or other dangerous situations.
When the brake pads wear down, they cause friction and heat on the rotors, which eventually wear out over time. If you don’t replace the rotors as well, this can lead to a pulsing sensation when applying the brakes and poor braking performance.
5. Can You Drive With Bad Rotors?
No, it is not safe to drive with bad rotors. If the rotors have worn down significantly, they will be unable to provide proper braking power and will cause your car to vibrate while driving or when applying the brakes. Worn or damaged rotors can also lead to brake fade, where the brakes heat up and become less effective the more you use them.
Conclusion
Replacing brake pads and rotors is important to maintaining your vehicle’s braking system. It is important to inspect your brakes regularly and replace them when necessary to ensure safe and reliable performance. Additionally, properly dispose of all old parts and follow manufacturer maintenance schedules to keep your brakes in optimal shape.