
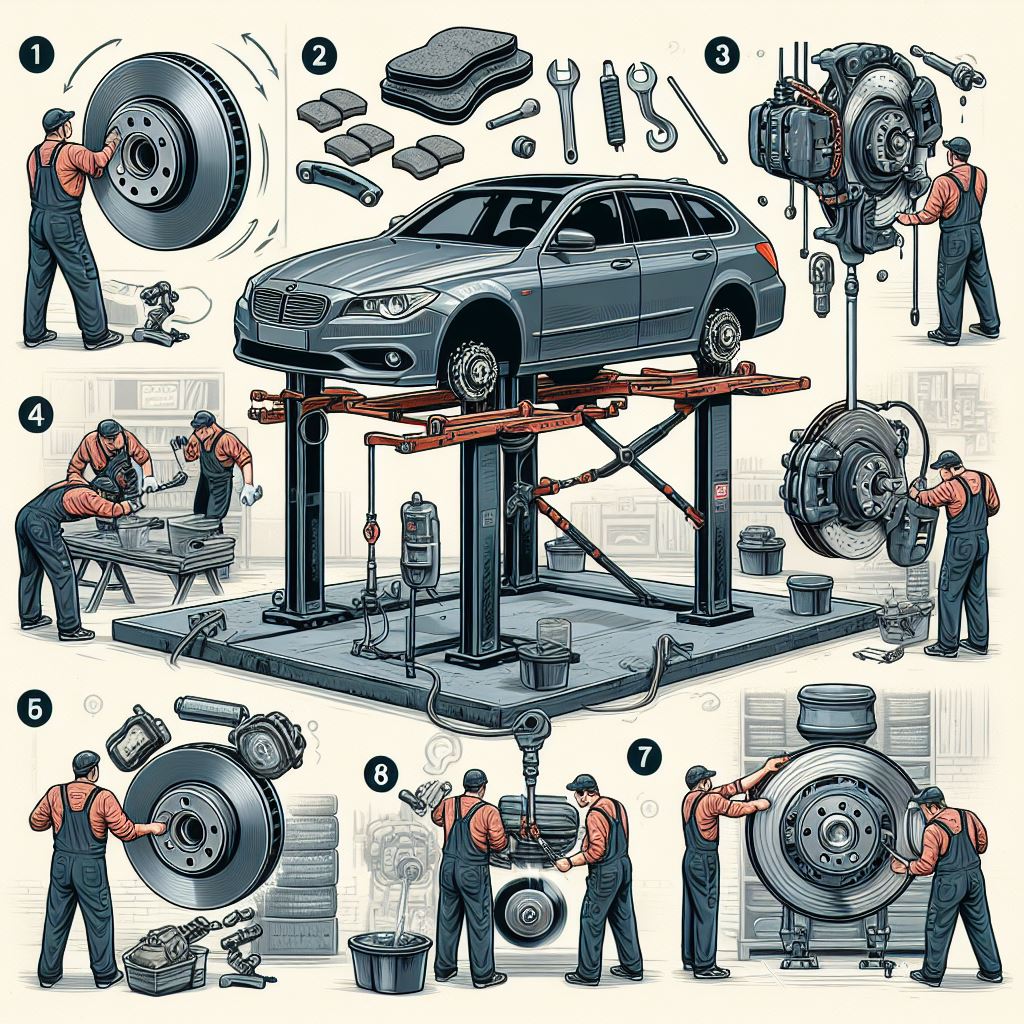
How to change brakes: 8 steps
Changing brakes is a fundamental aspect of vehicle maintenance, ensuring both safety and optimal performance on the road. Whether you’re a seasoned DIY enthusiast or a novice looking to tackle your first brake replacement project, this step-by-step guide will walk you through the process in eight comprehensive steps. Your vehicle’s braking system is crucial for a smooth and secure driving experience, making it essential to keep it in top-notch condition.
As brake components wear out over time, periodic replacement becomes inevitable. Neglecting this maintenance task can lead to diminished braking efficiency, increased stopping distances, and even compromised safety. However, with the right tools, a bit of patience, and a systematic approach, you can confidently take on the challenge of changing your brakes. Follow this guide closely to gain insights into each step, from safely jacking up your vehicle to installing new brake pads and rotors. By the end of this tutorial, you’ll not only have successfully replaced your brakes but also gained valuable skills that contribute to the overall well-being of your car.
Required tools:

You will need some tools to open all the brake components. Such as,
- Jack and Jack stand
- Lug nuts opener
- New rotor
- Ratchet set
- C-Clamp or brake caliper piston.
STEP-1: Removing the wheel and greasing the guide pins:

The first step is opening up the wheel’s lug nuts. Make sure to grease the guide pins. Silicon paste is good for that. You can turn the wheel using the steering wheel to place it in a suitable position.
STEP-2: Removing the caliper.

Open up the caliper bolt with a rachet. Do not let the brake line hold the caliper. The brake line is not designed to hold much weight. Use a bungee cord to hold the caliper without letting any stress on the brake line.
STEP-3: Remove the old rotor and place the new rotor:

After the caliper is removed, the rotor can now be removed easily. The hub that holds the rotor gets rusty. If your hub is rusty, use a wire brush to brush off the rust since it will prevent you from setting the new rotor on the hub evenly.
You can add anti-seize paste on the rotor. It will make the rotor removed the next time. Now set the new rotor on the hub.
Note: You should remove oils from the surface of the new rotor since they could prevent the brake from working properly.
STEP-4: Setting new brake pads:

Use a C-clamp or brake caliper piston tool to compress the brake caliper piston. This will make removing the old brake pads and installing the new ones.
Remove the old pads. It is a very easy process. You will be able to do so just by your hand. After removing the old one, simply add the new pads.
Use the C-clamp or brake caliper piston tool to compress the caliper piston again so that the new pads are properly seated against the rotor.
Note: Pads with wire indicator is good for your brake safety. It will indicate by making a noisy brake that it is time to replace your existing brake before any unwanted accident happens.
STEP-5: Setting the caliper:

If the old caliper is worn out. Then you need to replace the old caliper with a new one.
Remove the brake line and the pads from the caliper
Add the pads to the new caliper
Attach the brake line to the caliper
You should clean the rubber boot of the caliper’s piston before installing the brake tool to compress the piston. Now set the caliper back.
STEP-6: Adding brake fluid.

Compress the brake’s piston and unscrew the bleeder screw to open the bleeder valve on the caliper. This will cause the old brake fluid to force out. Add fresh fluid and ensure the process does not let air into the valve. Finish the step by screwing the bleeder screw.
STEP-7: Pump the brakes

Pumping the brakes is a great way to extend the life of your brake pads and rotors. When you pump the brakes, you are essentially pressurizing the brake fluid, which in turn applies more pressure to the pads and rotors. This increased pressure helps to distribute wear more evenly, which means your pads and rotors will last longer.
Additionally, pumping the brakes can help remove any debris or contaminants on the surface of the pads or rotors, which can also help extend their life.
STEP-8: Remove oils & debris & place the wheel back:

Before placing the wheel back, removing any oil and debris on the rotor, pads, and caliper is essential. You can spray the brake clean and wipe the oil and debris with a wiper.
After setting the rotor, caliper, and pads, hold the wheel on the hub and screw the lug nuts.
Do steps 1-8 to change the brake of other wheels.
If the condition of your car brake is so worn that you cannot change the brake by yourself, call for a brake specialist.
How to know when to change your brake pads?
There are a few signs that it might be time to change your brake pads. If you notice any of the following, it’s a good idea to have your brakes checked by a professional:
- Your brake pads are wearing thin. If you can see the pad’s metal backing, or if the pad is less than 1/4 inch thick, it’s time to change.
- If your brake pads have a wire indicator, it will make a noise when it is time to change the pads. If you hear squealing or grinding when you use your brakes, it’s a sign that the pads need to be replaced.
- Your brakes are not working as well as they used to. If it takes longer for your car to stop than it used to, or if you have to press harder on the pedal to get the same response, it’s time for new pads.
If you’re unsure whether or not your brake pads need to be changed, a professional mechanic will be able to take a look and let you know for sure.
Troubleshoot to change brakes
Before embarking on a brake change, thorough troubleshooting is essential to identify and address potential issues. Common brake problems include squeaking, grinding noises, uneven braking, or a spongy brake pedal. Conducting a systematic inspection can help pinpoint the source of the problem, ensuring a successful brake replacement. Here’s a comprehensive troubleshooting guide:
Squeaking or High-Pitched Noises:
- Probable Cause: Worn brake pads or damaged rotors.
- Solution: Check both brake pads and rotors for excessive wear. If the brake pads are thin or the rotors are scored, replacement is necessary.
Uneven Braking:
- Probable Cause: Uneven brake pad wear, issues with brake calipers, or uneven rotor surfaces.
- Solution: Inspect the brake pads for even thickness. If one side is significantly worn, investigate the corresponding caliper for sticking or uneven movement. Machining or replacing the rotors may be necessary to ensure an even braking surface.
Spongy Brake Pedal:
- Probable Cause: Air in the brake lines or low brake fluid.
- Solution: Bleed the brake system to remove air. Check the brake fluid level; if it’s low, top it up with the recommended brake fluid.
Vibrations During Braking:
- Probable Cause: Warped rotors.
- Solution: Measure rotor thickness and check for warping. If the rotors are too thin or warped, replacement is essential.
ABS Warning Light:
- Probable Cause: ABS sensor or wiring issues.
- Solution: Diagnose ABS sensor and wiring problems. Repair or replace faulty components as needed.
Before initiating the brake change, address any identified issues to ensure optimal performance and safety. Remember to consult your vehicle’s manual for specific troubleshooting steps and adhere to proper safety procedures during the troubleshooting and replacement process.
Frequently Asked Questions (FAQs)
How much does a brake rotor cost?
The rotor cost can vary depending on your vehicle type, but they typically range between $60 and $200, with some exceptions costing as much as $600.
How much does a brake caliper cost?
The brake caliper is a component of the braking system, which is mounted on the braking disc. It comprises two or more parallel metal plates, called “boots,” attached to a rotating hub. The cost varies depending on quality and size. A low-end caliper might cost $10, while a high-end one could be as much as $200+.
How many types of car brakes are used in a car nowadays?
The car brakes used are drum brakes, disc brakes, and air brake systems. Drum brakes are used in most cars and trucks. They work by using a hydraulic system to push shoes against the inside of a rotating drum to stop the wheels from turning.
How do you know when it’s time to change your brakes?
You should change your brakes when the brake pedal feels spongy. This means that there is a leak in the brake fluid, and it needs to be replaced. Another sign of this is when your car starts to pull to one side when braking. This can be caused by worn or warped rotors and needs to be replaced.
What tools do you need to change your brakes?
The tools you need for changing your brakes depend on the type of brakes you have. You only need a wrench and a screwdriver if you have disc brakes. If you have drum brakes, you will need a ratchet, socket, and extension bar. If I had to pick one tool I would recommend for changing your brakes; it would be a torque wrench. This is because it will help ensure that the bolts are tightened to the right amount of pressure so that they don’t loosen up over time.
Conclusion
Successfully changing your brakes in eight simple steps is a rewarding endeavor that enhances both your vehicle’s performance and your driving safety. By following this comprehensive guide, you’ve learned how to methodically approach the brake replacement process, from disassembling the old components to installing new brake pads and rotors. Regular maintenance of your vehicle’s braking system is an investment in your safety on the road, ensuring responsive and efficient stopping power. Remember to exercise caution throughout the process, using the appropriate tools and techniques outlined in each step. With the satisfaction of a job well done, you’ve not only saved on potential repair costs but also gained valuable hands-on experience. As you hit the road with your newly replaced brakes, take pride in your accomplishment and the enhanced performance of your vehicle. Stay proactive in maintaining your car, and you’ll enjoy a smoother, safer driving experience for miles to come.